Meifford Canal


And Slateworks

loco page header

Commerce at the Canal


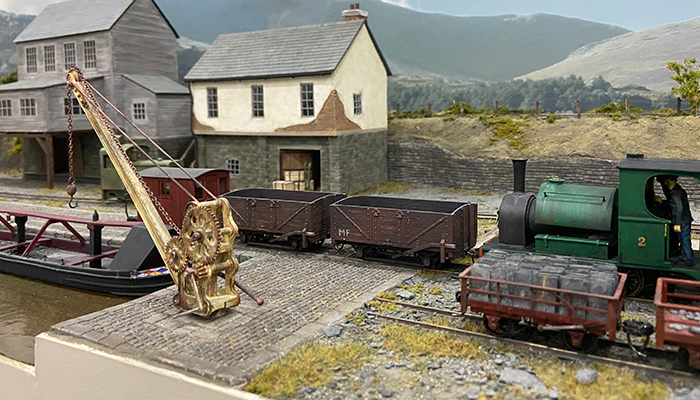
The canal is sparsley populated with buildings, but for Maifford is probably one of the most important assets, since a lot of trade still goes by barge. Slate is transported to the port for transhipment on by sea and other goods are brought up from the ports for onward movement by train.

The biggest building near the wharf, but served by it's own siding belongs to J. Eaton & Co. who have grown to be a large manufacturer and stockist of cloth for the area around Meifford.

Next to Eaton's is the local warehouse for general supplies, which is sent out by train to nearby towns.

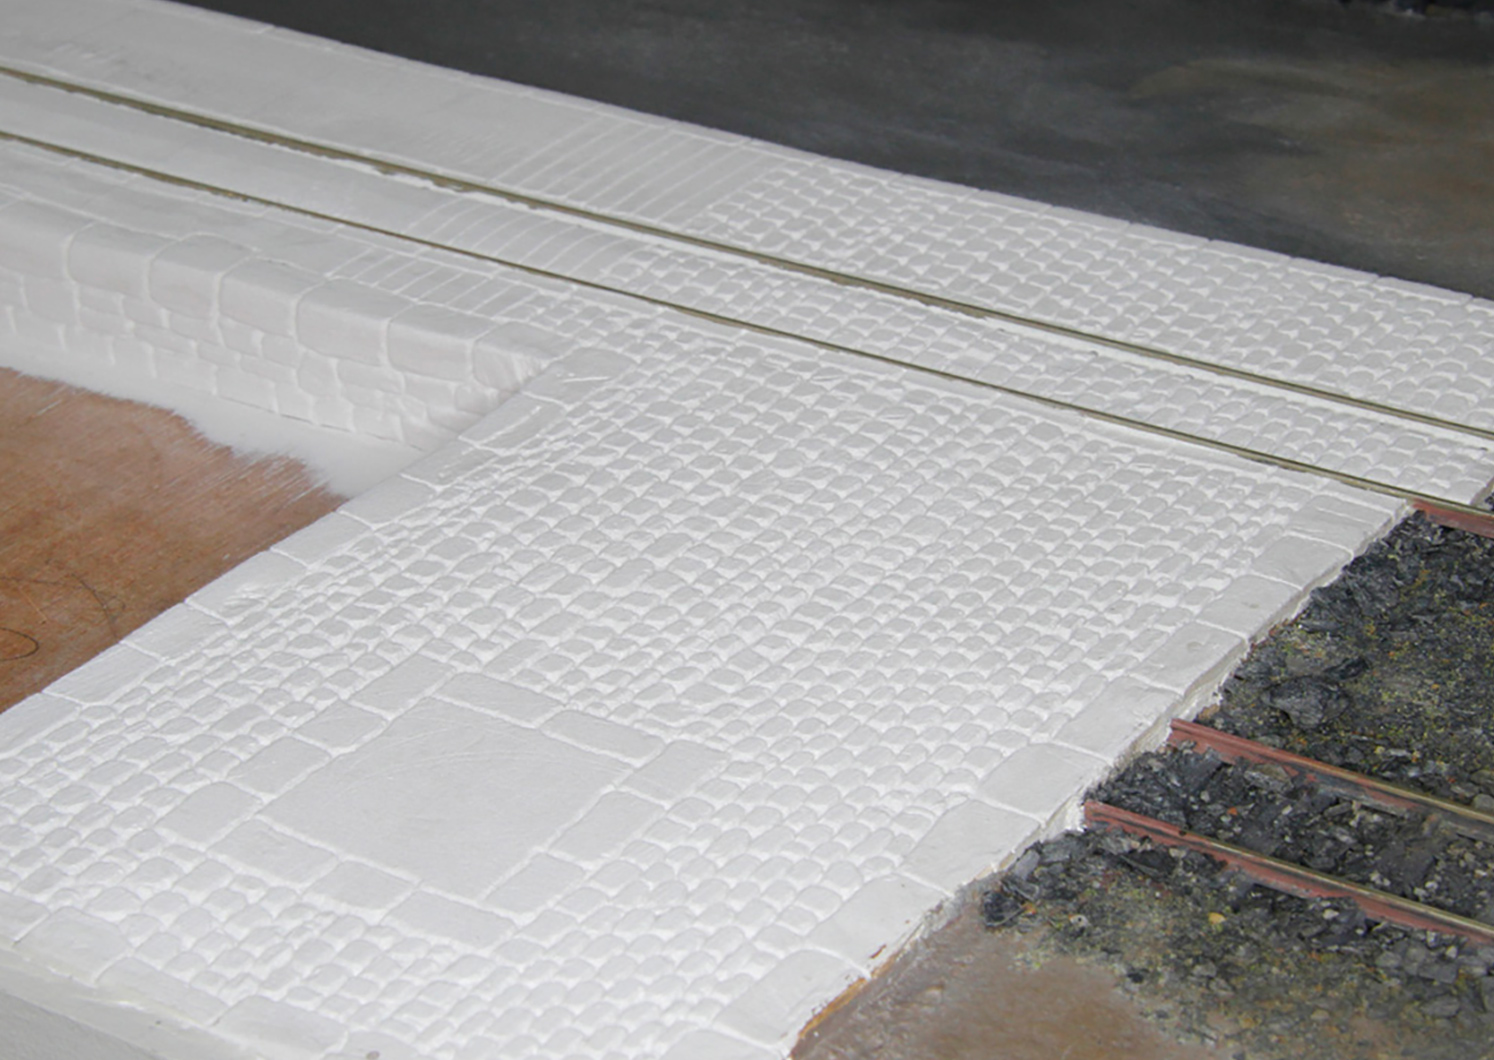
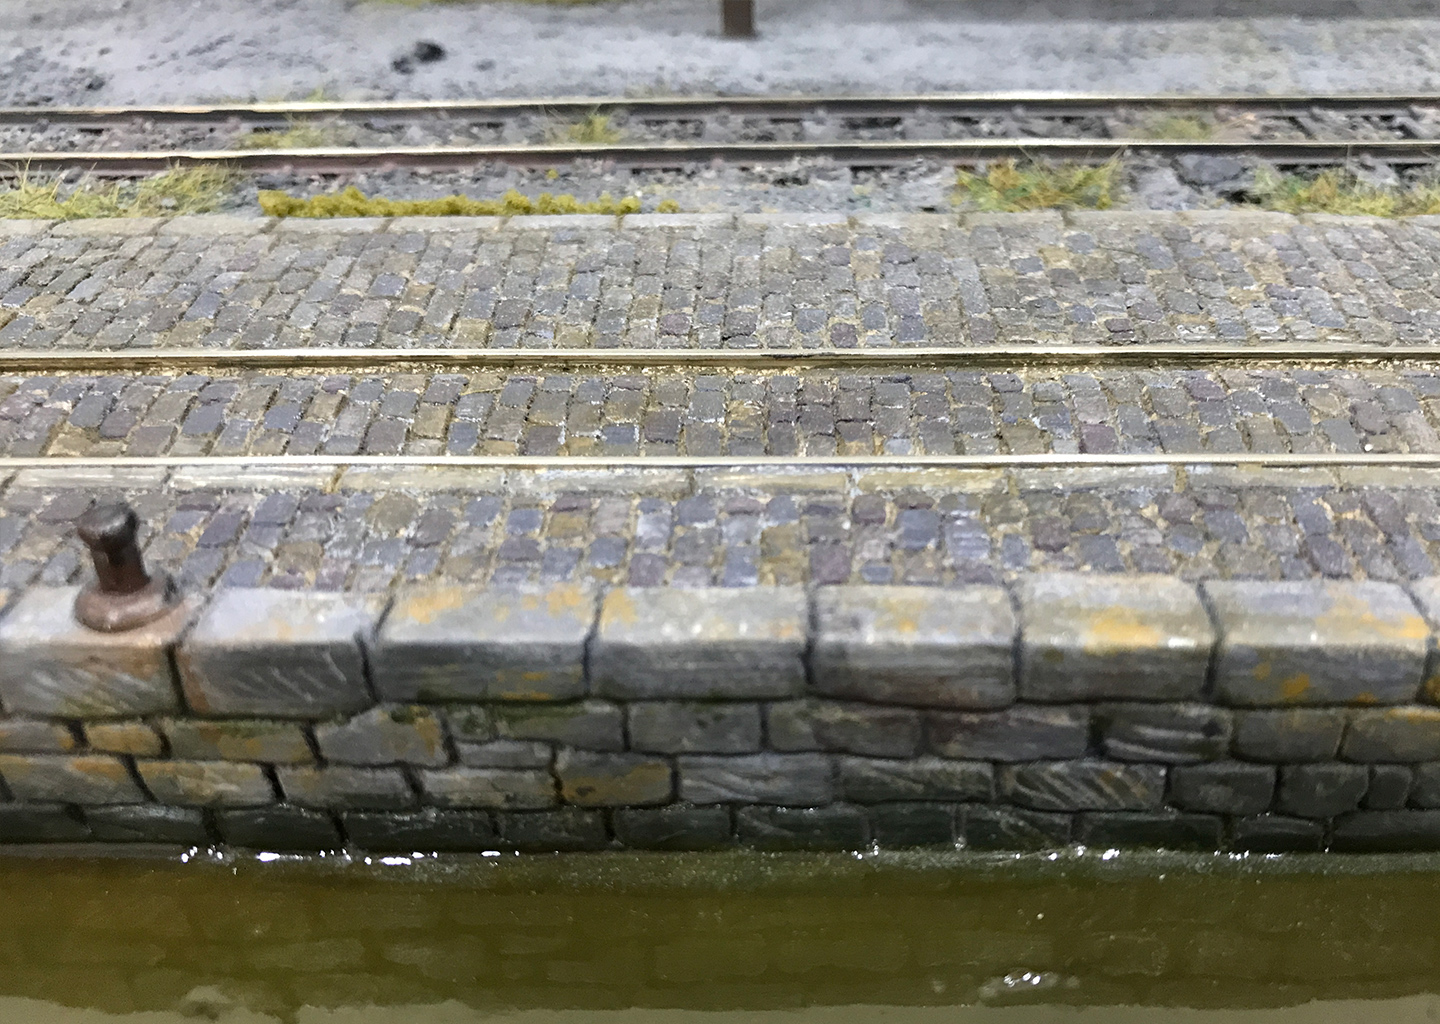
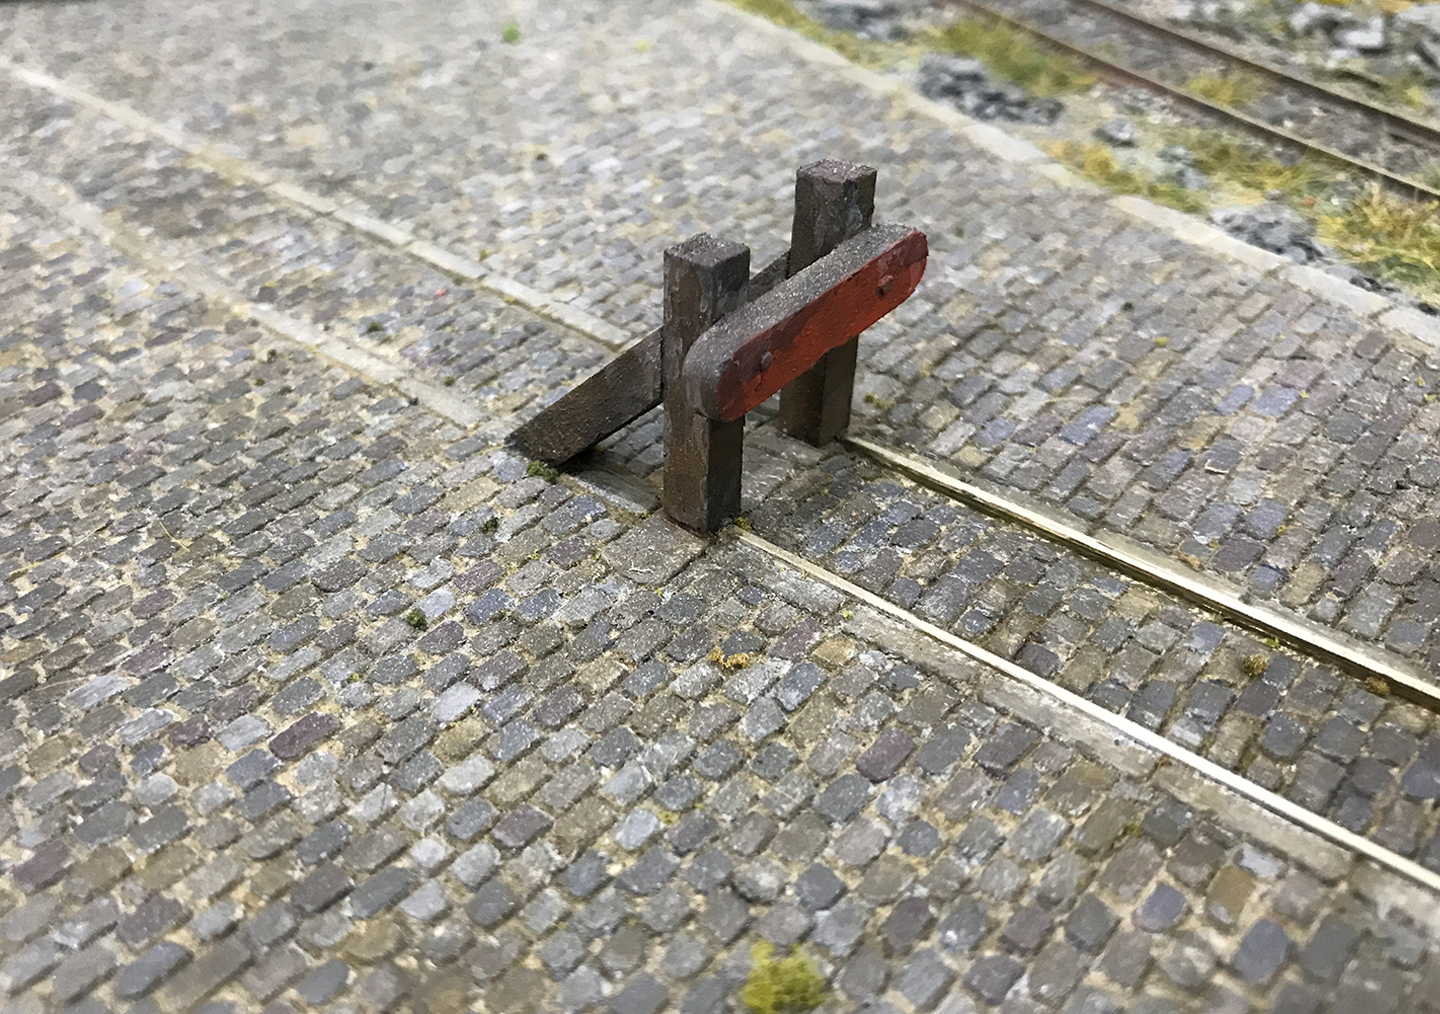
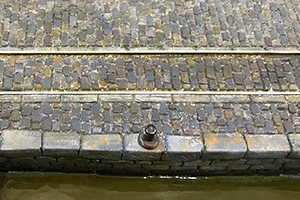
Almost as important as the buildings is the wharf, with inlaid track. The surface is laid with cobbles - more information if you click on the image below - 

By far the most important building is located at the end of the wharf - Meifford Slate Works! It is here that locally quarried slate is transformed into the finished roof slartes that are then sent out both by train and barge to their eventual destinations. It probably accounts for most of the rail traffic on the wharf sidings.

To manage goods arriving by barge, or to be shipped out, there is a small goods office where George Thomas hides away during the day, venturing out occaisonally when needed!

Reality ...

 All of the buildings around the canal are scratchbuilt, mostly using a foamboard shell, all with internal floors, which give strength to the structures. All roofs are removable to enable access for lighting and eventually fitting out the interiors, these being made from mount board, which has been given a coat of shellac to provide strength and prevent warping.

Tiles are individually cut and laid, for all buildings and where the outsides are clad in wood (Eaton's and Meifford Slate), this has been cut from mahogonay veneer. Nothing looks better than using real wood.

Meifford Slate has a corrugated iron roof and this was made from aluminium serving dishes, cut into strips and fed through a 'paper crimper' and then cut into appropriate sizes.

Stone walls are scribed in to a DAS covering over the foam board, painted in a similar way to the cobbles.

All the windows in the buildings have also been scratchbuilt - I prefer to make windows the size I need for a building, than making the buildings to fit the size of window available. It takes longer but is quite satisfying.

Images from the canal area -

Click on an image to enlarge it

Contact

If you have any questions about Meifford or would like to know more about 7mm Narrow Gauge modelling, please do use the form on the Contact Page


 I normally try and answer within a couple of days

15,000 and Counting!


There is one thing that is quite evident down at the canal wharf - cobbles! The track beside the wharf and leading to Meifford Slate Works is inset and that means cobbles.

They cover quite a substantial area and are a very distinct feature. In addition to the stone walls for the canal basin, thoughts turned to how best to represent them. I finally settled on covering the whole quayside with a thin layer of DAS air-dry clay and hand engraving the stone walls and the cobbles.

It was quite a daunting task, but tackling it a small area at a time made it easier, plus progress is a great spur to finishing it!

The infill between the rails, was laid on top of a mount-board overlay, glued down and the gap for the flanges checked before covering. The main stones were scribed first (my favoured tool is a round needle file, with a long point), once the DAS had dried completely, and then rows marked out in pencil and scribed in-between.

The image below shows some progress!

new cobbles
It's important to get the grooves deep enough and to keep everything clear of the dust produced - there can be a lot of it! About two hours scribing at a time is enough, as it requires quite a bit of pressure from the fingers!

Once it was all done, then it was just a case of painting. I used artists oil paints as it makes it easy to blend colours as of course it takes some time to dry completely. Firstly however I use a very diluted (about 90% thinner) dirty black/brown wash, applied to the grooves. It will be sucked in very quickly, so needs a well loaded brush. This dries as a dirty infill between the stones and cobbles.

The whole surface was then painted with a light grey for a base coat, using a small flat brush. Then comes the fun part!

I mixed up something like 8 'stone' colours and then using a very small flat brush individually painted the cobbles in a random order, until all of them had been covered. Next, they were left so that the surface dried overnight, ready for the 'magic'. Using a slightly larger flat brush (about 5mm), dampened with linseed oil, the surface is dry-brushed, dragging the brush across the cobbles and blending the colours together. If it doesn't quite look right, it's easy just to apply a little more colour and blend that in.

Not easy to describe, but the following two images should give you an idea of what is acheivable -

The Wharf - Retaining wall and inset track

wharf 03

End of the line - Large cobbled area outside Meifford Slate

wharf 04